Your Go-To Guide for Hosting a Piano Recital In-Person and Online
When I thought of what topics I wanted to share this month, I originally was planning a go-to guide for hosting a piano recital in-person. After all, that’s how I’ve always hosted my piano events! However, now that COVID-19 is putting all of our plans on hold, I still want to share what I normally do but also what I’m planning to do for our first-ever online piano recital!
I think the best thing we can do during this uncertain time is to embrace our resources and make the most of it. No matter what, Cascade Melody School of Music WILL have a recital and I want to encourage you to do the same for your students. If it weren’t for the coronavirus, most piano teachers would be planning to host recitals in May.
Your Guide to Hosting the Best Piano Recital
In this guide, you’ll learn my step-by-step process for hosting a piano recital, as well as my plans for converting to an online piano recital. Although an online recital may be foreign and intimidating, I think it can be just as beneficial and fun as an in-person one!
I’ll start by sharing how our piano recitals typically go. Before diving into the steps, the main takeaway is making recitals about the kids and their progress. It’s an opportunity for them to showcase their talent and be celebrated!
When it comes to hosting a piano recital, I keep that objective in mind. I want it to be a fun experience for everyone – for the student’s performance, and the friends and family watching!
How to Host the Best Piano Recital: In-Person Guide
I’ve been to a lot of piano recitals over the years and a lot of my experiences have inspired how I host the recitals for my school of music. With that said, Cascade Melody truly does go above and beyond. I always want everyone to have a good time and for students to feel praised. In order to do that, it requires a lot of effort on my part to orchestrate an awesome recital!
You don’t have to complete every step of this guide to host a great recital, but I hope that you utilize some of my personal touches throughout your event or they inspire you to create some personal touches of your own within your programming!
Step 1: Plan, prep, and practice! (MONTHS in advance)
Prepping the students:
Run through presentations in every lesson a month out
We start prepping the students months before to ensure they know the piece(s) they will be performing and they know their presentation adequately.
For us, the presentation involves an introduction to the audience by saying their name, the title and composer of the piece they will be playing, and the opportunity to share anything else with the audience. Then, they perform their piece(s) and take a bow.
A month before the recital, we run through presentations in every single lesson. I do this so there are no surprises once they get up on stage. It can be intimidating, especially for little kids, to stand in front of a large audience – having the practice in their back pocket makes it run smoothly and prevents panic!

Prepping the programs:
Start asking parents for student bios and pictures two months out
Okay, I’m not going to lie – this part is pretty stressful. This requires a lot of effort on my part but it really does make a difference at the recital!
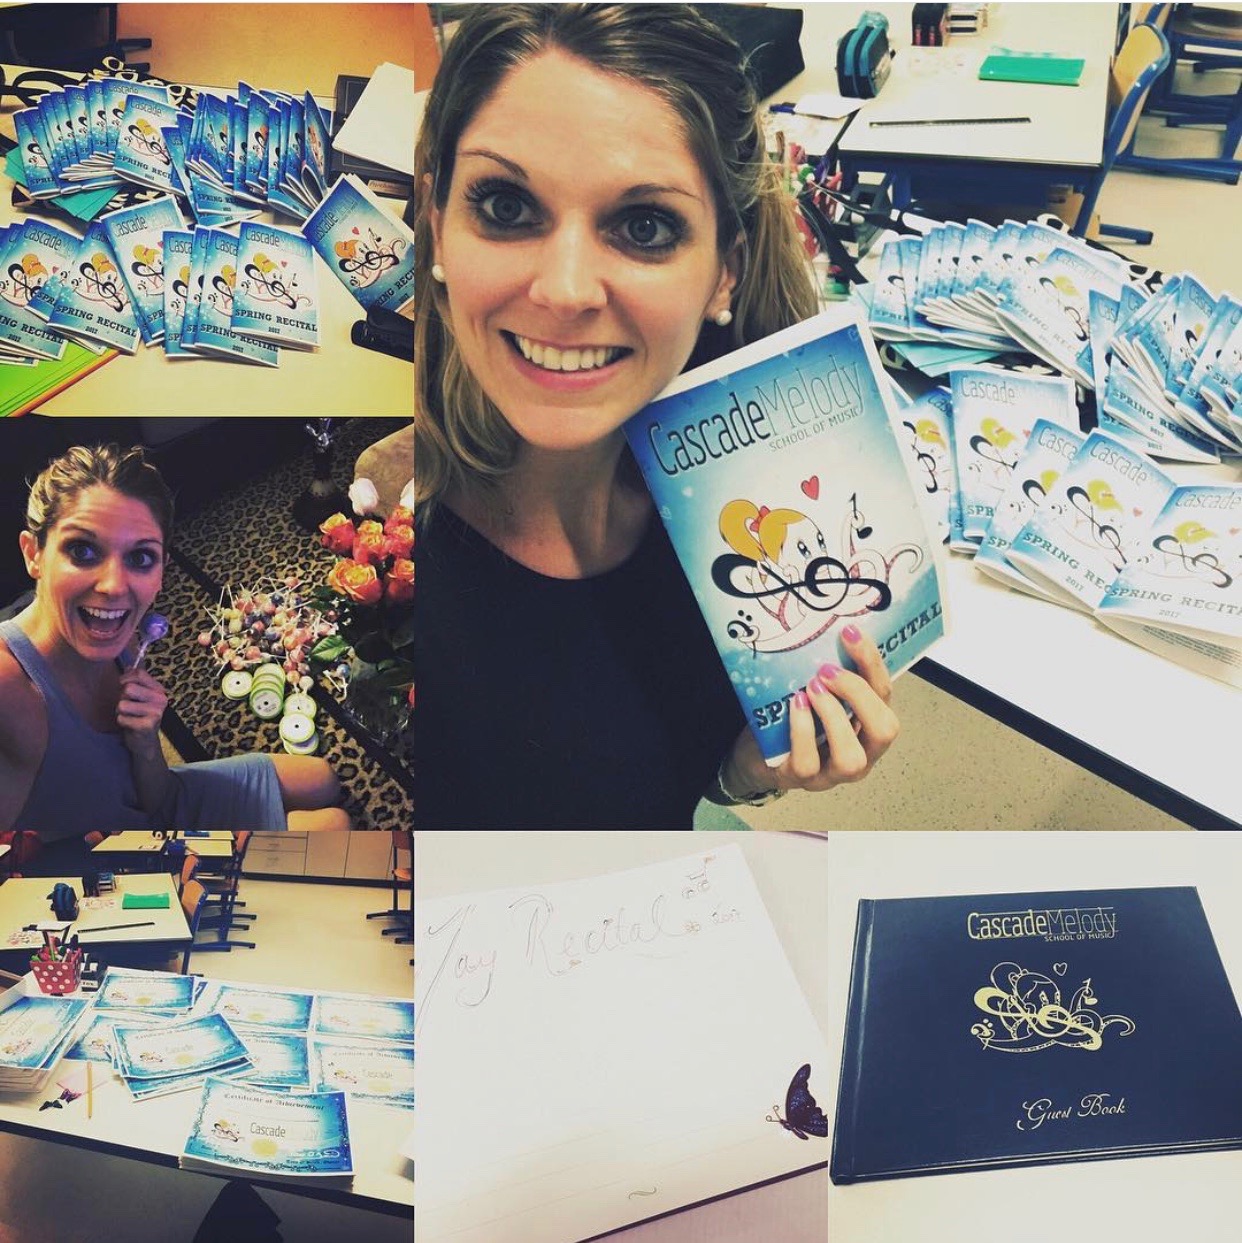
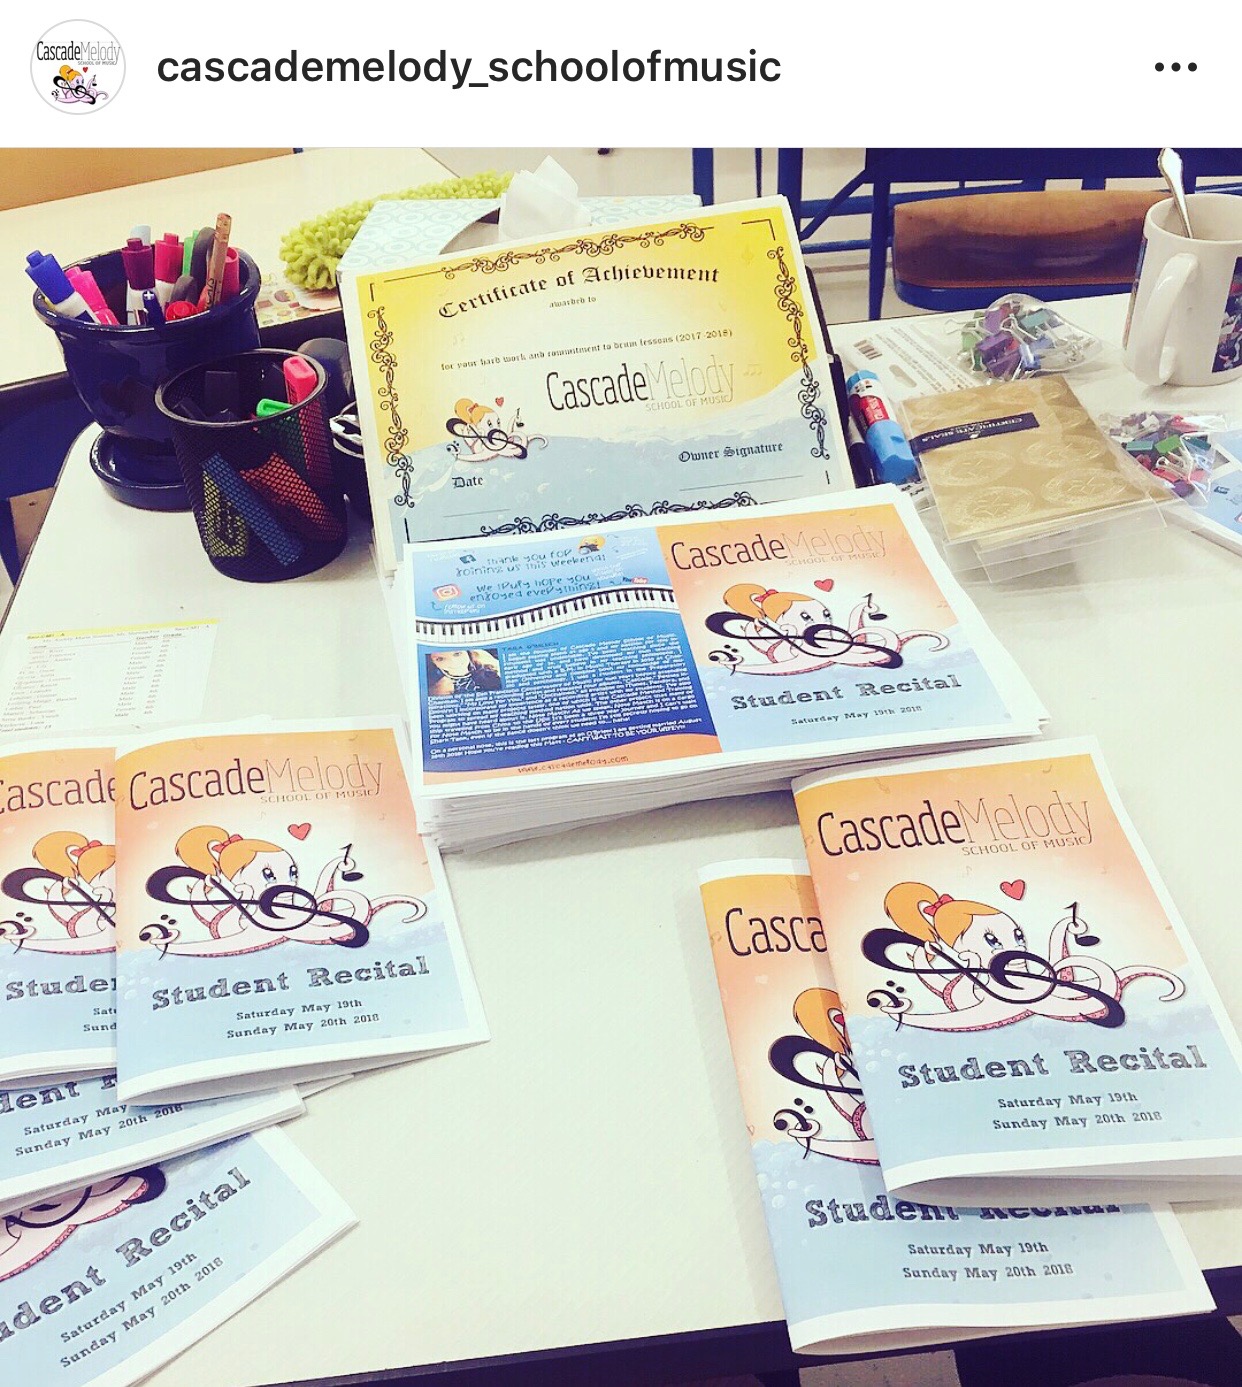
Two months prior to the recital, I started asking all the families I teach and all the teachers in the school to give a mini bio and picture of each student performing. In addition to the regular programming which lists the two recital days and the order of performances, I also have an entire section of all the students under each teacher. As I said, this requires a lot of work on my end to follow up with families, other teachers, and organize the program, but it’s one of the best parts of the recital.
Why go through the trouble?
Everyone loves being able to flip through the program during performances to learn a little bit more about a particular student and (of course) seeing their child or friend being honored. Sometimes, these recitals can get a little long, so having cute little bios to read and having to hunt for the student who is currently on stage, gives them a little something to do!
It’s even a cool experience for us teachers because you start to see how much they are growing (physically and within their piano practice) each year! It’s fun to not only see what type of pieces they liked at the time, but what they decide to add to their bio! You really start to see how much they grow. Also, it serves as a motivation to the other teachers by seeing how many students are under each teacher. It encourages them to increase their list of students!
How do I create the recital programs?
When it comes to making these programs, I do them on InDesign. This process takes over a month so that’s why I start asking two months in advance for bios and pictures. Once they’re digitally done, I print them out and fold them myself. This also takes some time, considering there are over 80 programs!
You do have to pay for InDesign and it’s not always easy to understand. However, in the past couple of years, Canva has made incredible strides and I can now say that I am 95% converted!! This is a free design platform but you can start paying a monthly fee for additional features, of course. They have all sorts of templates that can make it easy for you to create the programming!
Prepping the space:
Creating a welcoming atmosphere goes a long way!
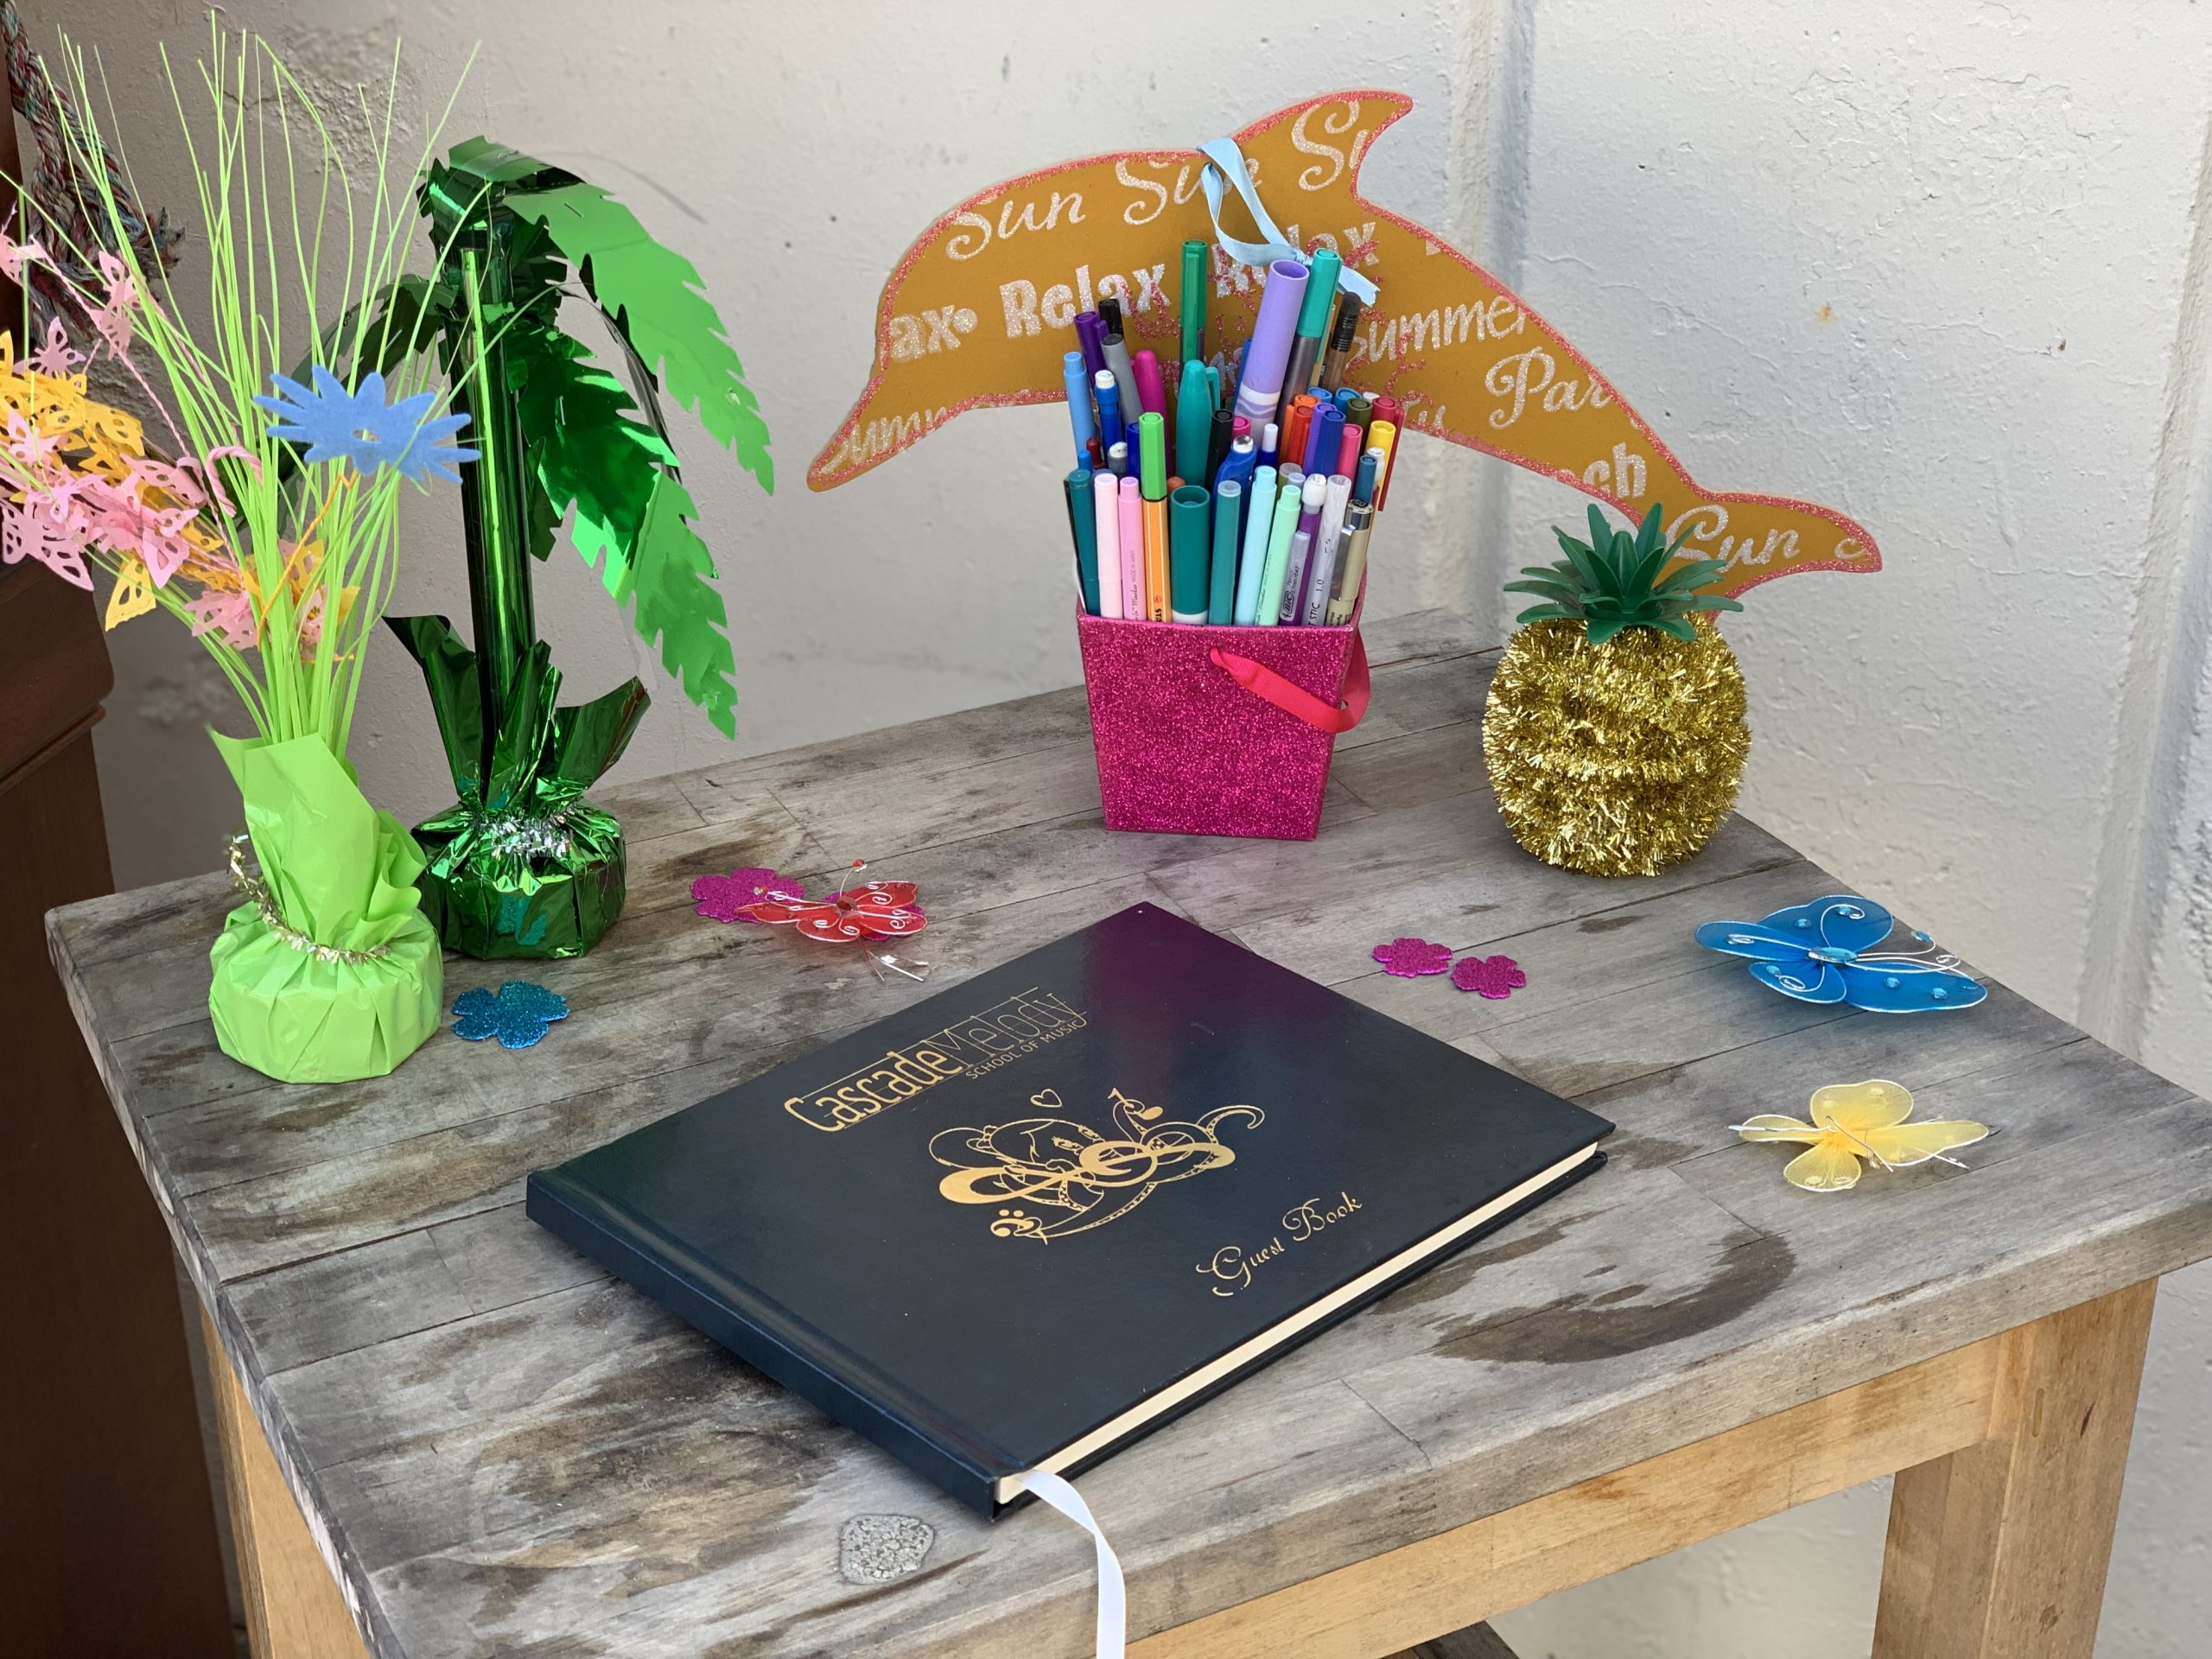
I love to go to the dollar store and get cute decorations to make it all pretty and lively. Every time families come, the little kid’s eyes light up! I like to make it fun and inviting and less scary. If there were no decorations and just a big piano with lots of chairs, it would be boring and scary (or at least that’s how I feel)!
You don’t have to make it fancy – just make it fun! The dollar store has always worked just fine for us and everyone always compliments how lovely it turned out!
A personal touch: Flower prep!
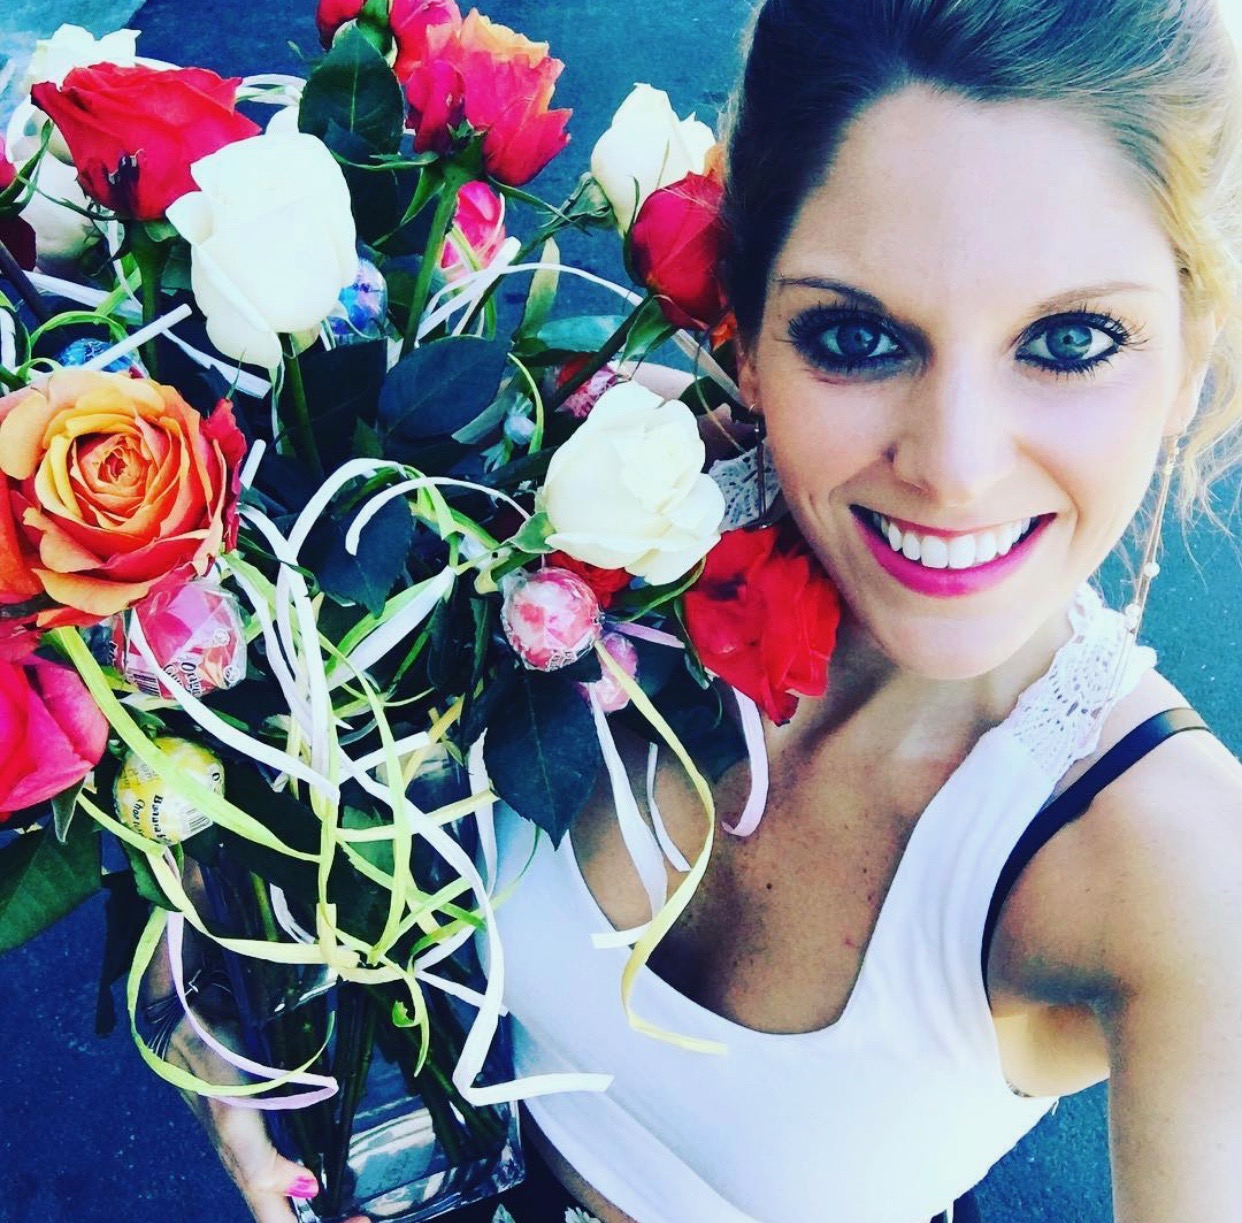
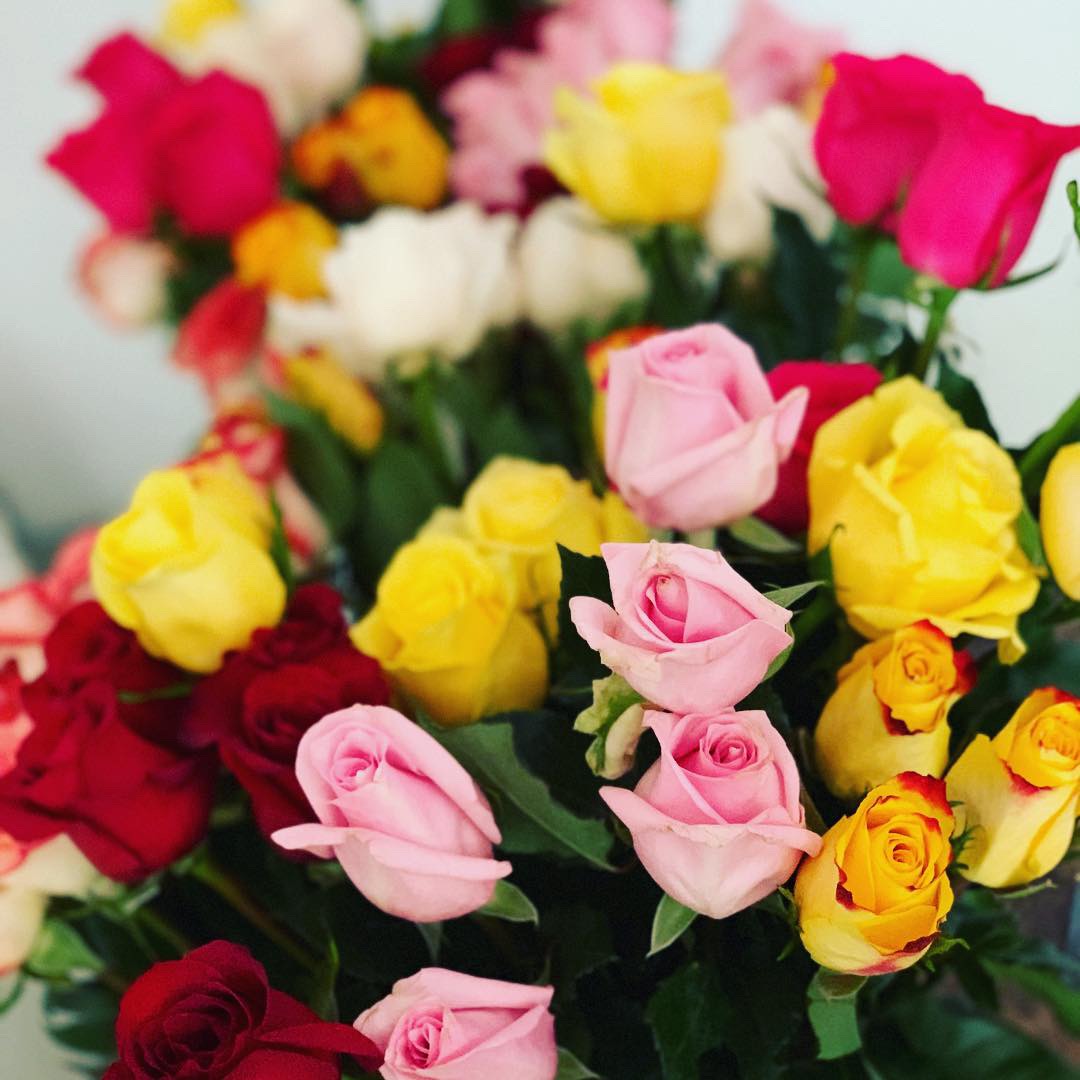
My favorite piano teacher, Edith, always gave us roses after we performed. As a student, I always LOVED this, so I decided to carry the tradition over to my kiddos!
I have had parents tell me how happy the kids were to receive a rose – some saying it was the first flower they’d ever received!
Once the recital is over, I’ll show up to a lesson with my students and see the little rose in a cup on the counter. The kids are so proud of their rose. It makes me so happy to see and that’s why I keep doing it every year, even if it does cost a little extra!
I also attached lollipops to each rose. The little kids look forward to this the most and one of the reasons I do this is that once they perform (since they usually go first), the lollipop will keep them busy for the remainder of the hour. Otherwise, they’ll get all fidgety. This has really helped keep them concentrated on the performances!
A personal touch: Certificate prep!
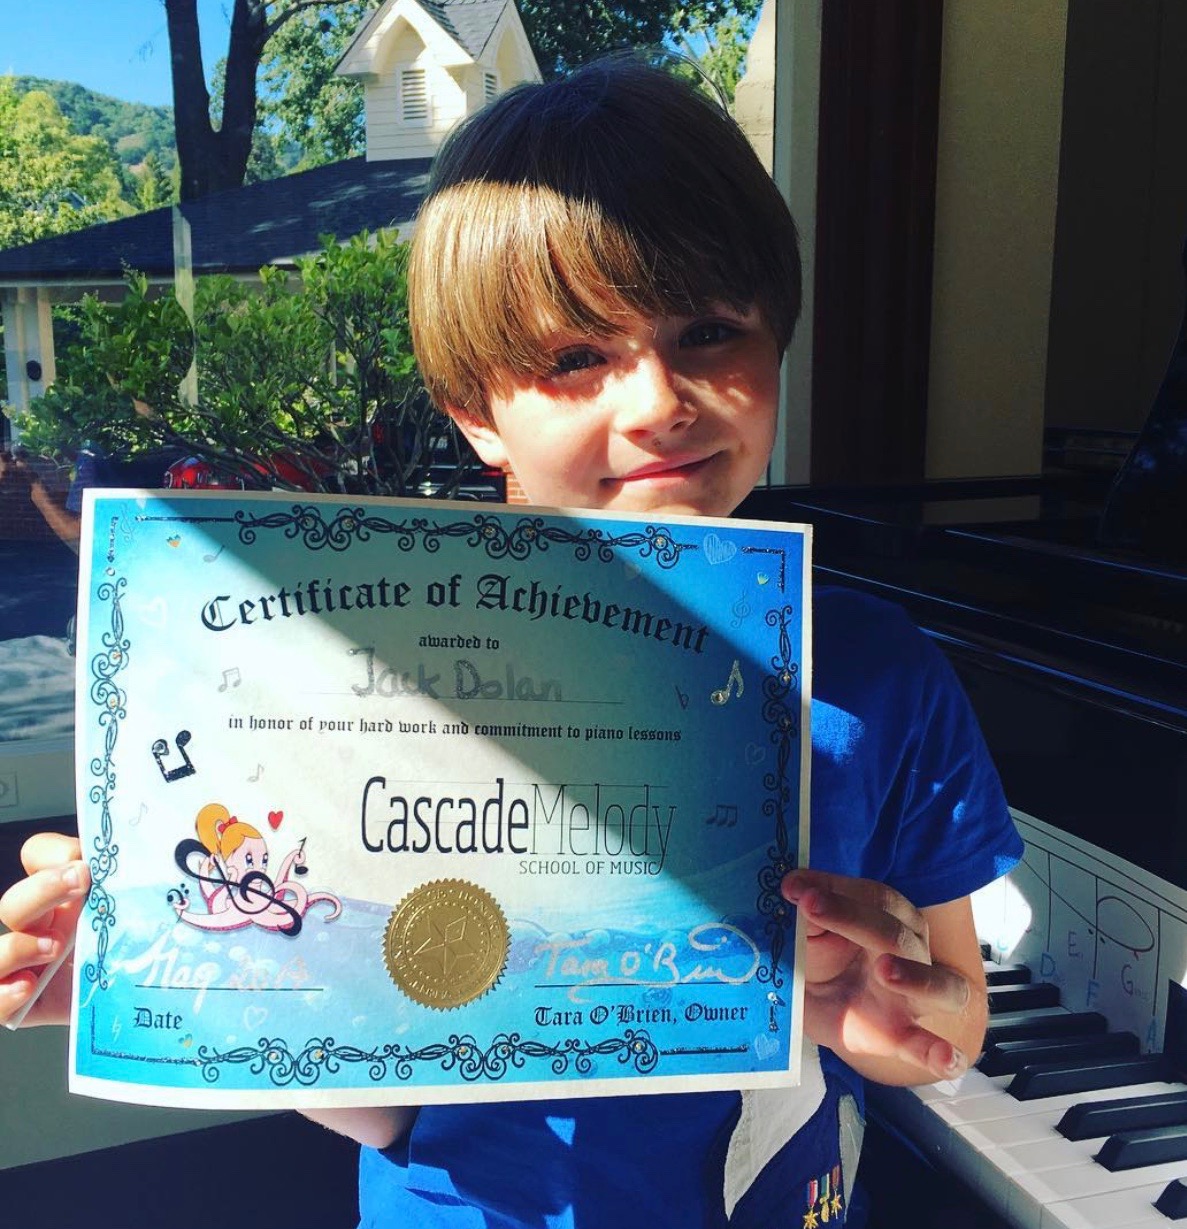
I’ve been doing cute certificates for the past couple years. I put my school logo and add each student’s name on it. The first year I did this, I went all out by adding glitter and achievement stickers. Nowadays, I just add stickers. The glitter is messy and too time-consuming but it’s still such a fun reward for the students!
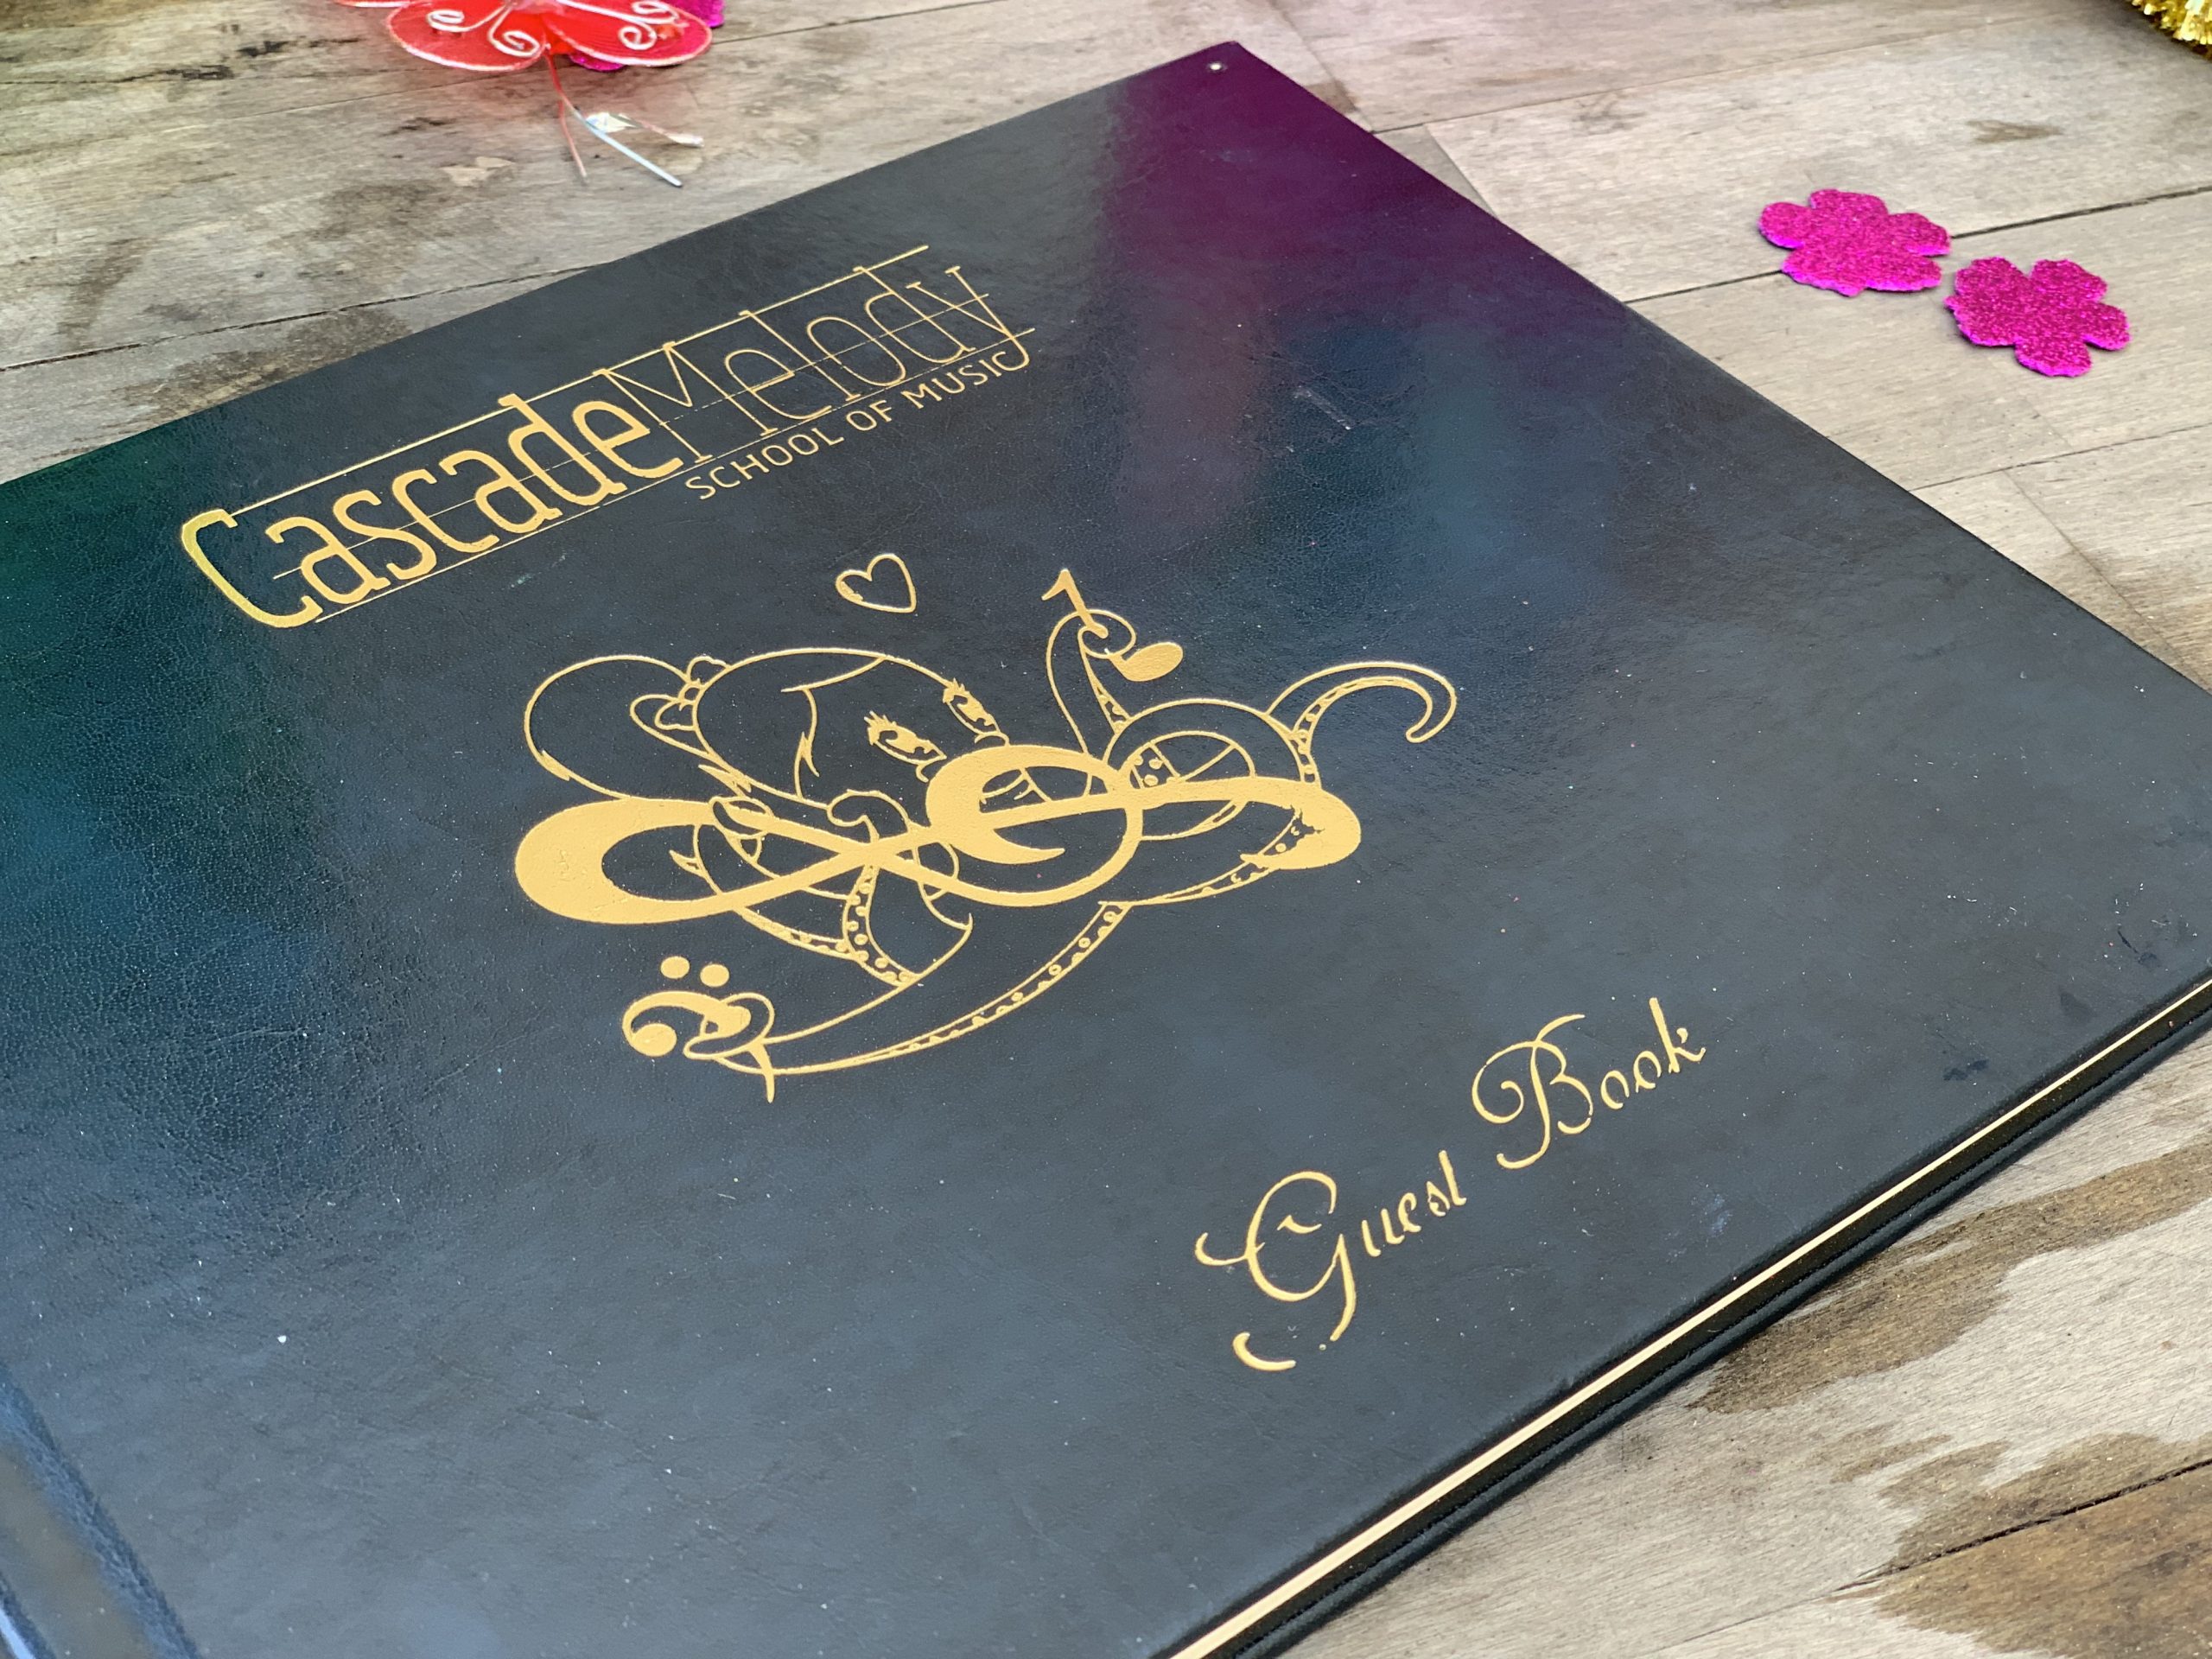
Another personal touch! A Guest Book:
For every recital or school event, I have the guest book open with the event name titled at the top, so everyone who came can write “little love notes” as I like to call them!
I can’t remember where I ordered my guest book, but there are so many options on Amazon! I added my school logo on it and I absolutely love having this as a personal touch! It’s fun to read after recitals, see what all the kids wrote, who signed it, and who was there. Especially down the road, it’s really cool to look back and reflect on.
Step 2: Setting Up The Recital
Obviously, we have to set up chairs, all the decorations, and the tables for the potluck afterward. I set up the roses and place the programs at the front of the entrance. The camera is the most important part of setting up!
I make sure to empty the card and charge the battery beforehand so there’s no chance of missing anything! I also charge my iPad and film the recital live on our Cascade Melody Facebook page! Here’s the live video from our 2020 Teacher Concert as an example!
Step 3: Go Time: Hosting The Piano Recital
It’s go-time! Once everyone finds their seat, I give an introductory speech. I welcome everyone, thank them for being there, and sometimes do roll-call to ensure all the students performing are there!
I then do a run-through of how everything will go down, for the newbies, where I tell them to watch the program, follow the order, so they know when their turn is. Once one student is done, the next student is ready on the side, so they can head up on stage directly after the previous student is done and walking off.
That way it’s a smooth transition. I ask families to wait to clap after both pieces if a student plays more than one. It helps so that they stay concentrated. For pictures, I usually save a seat for the parents, upfront, so that they can come up close and film their kiddo or take pictures.
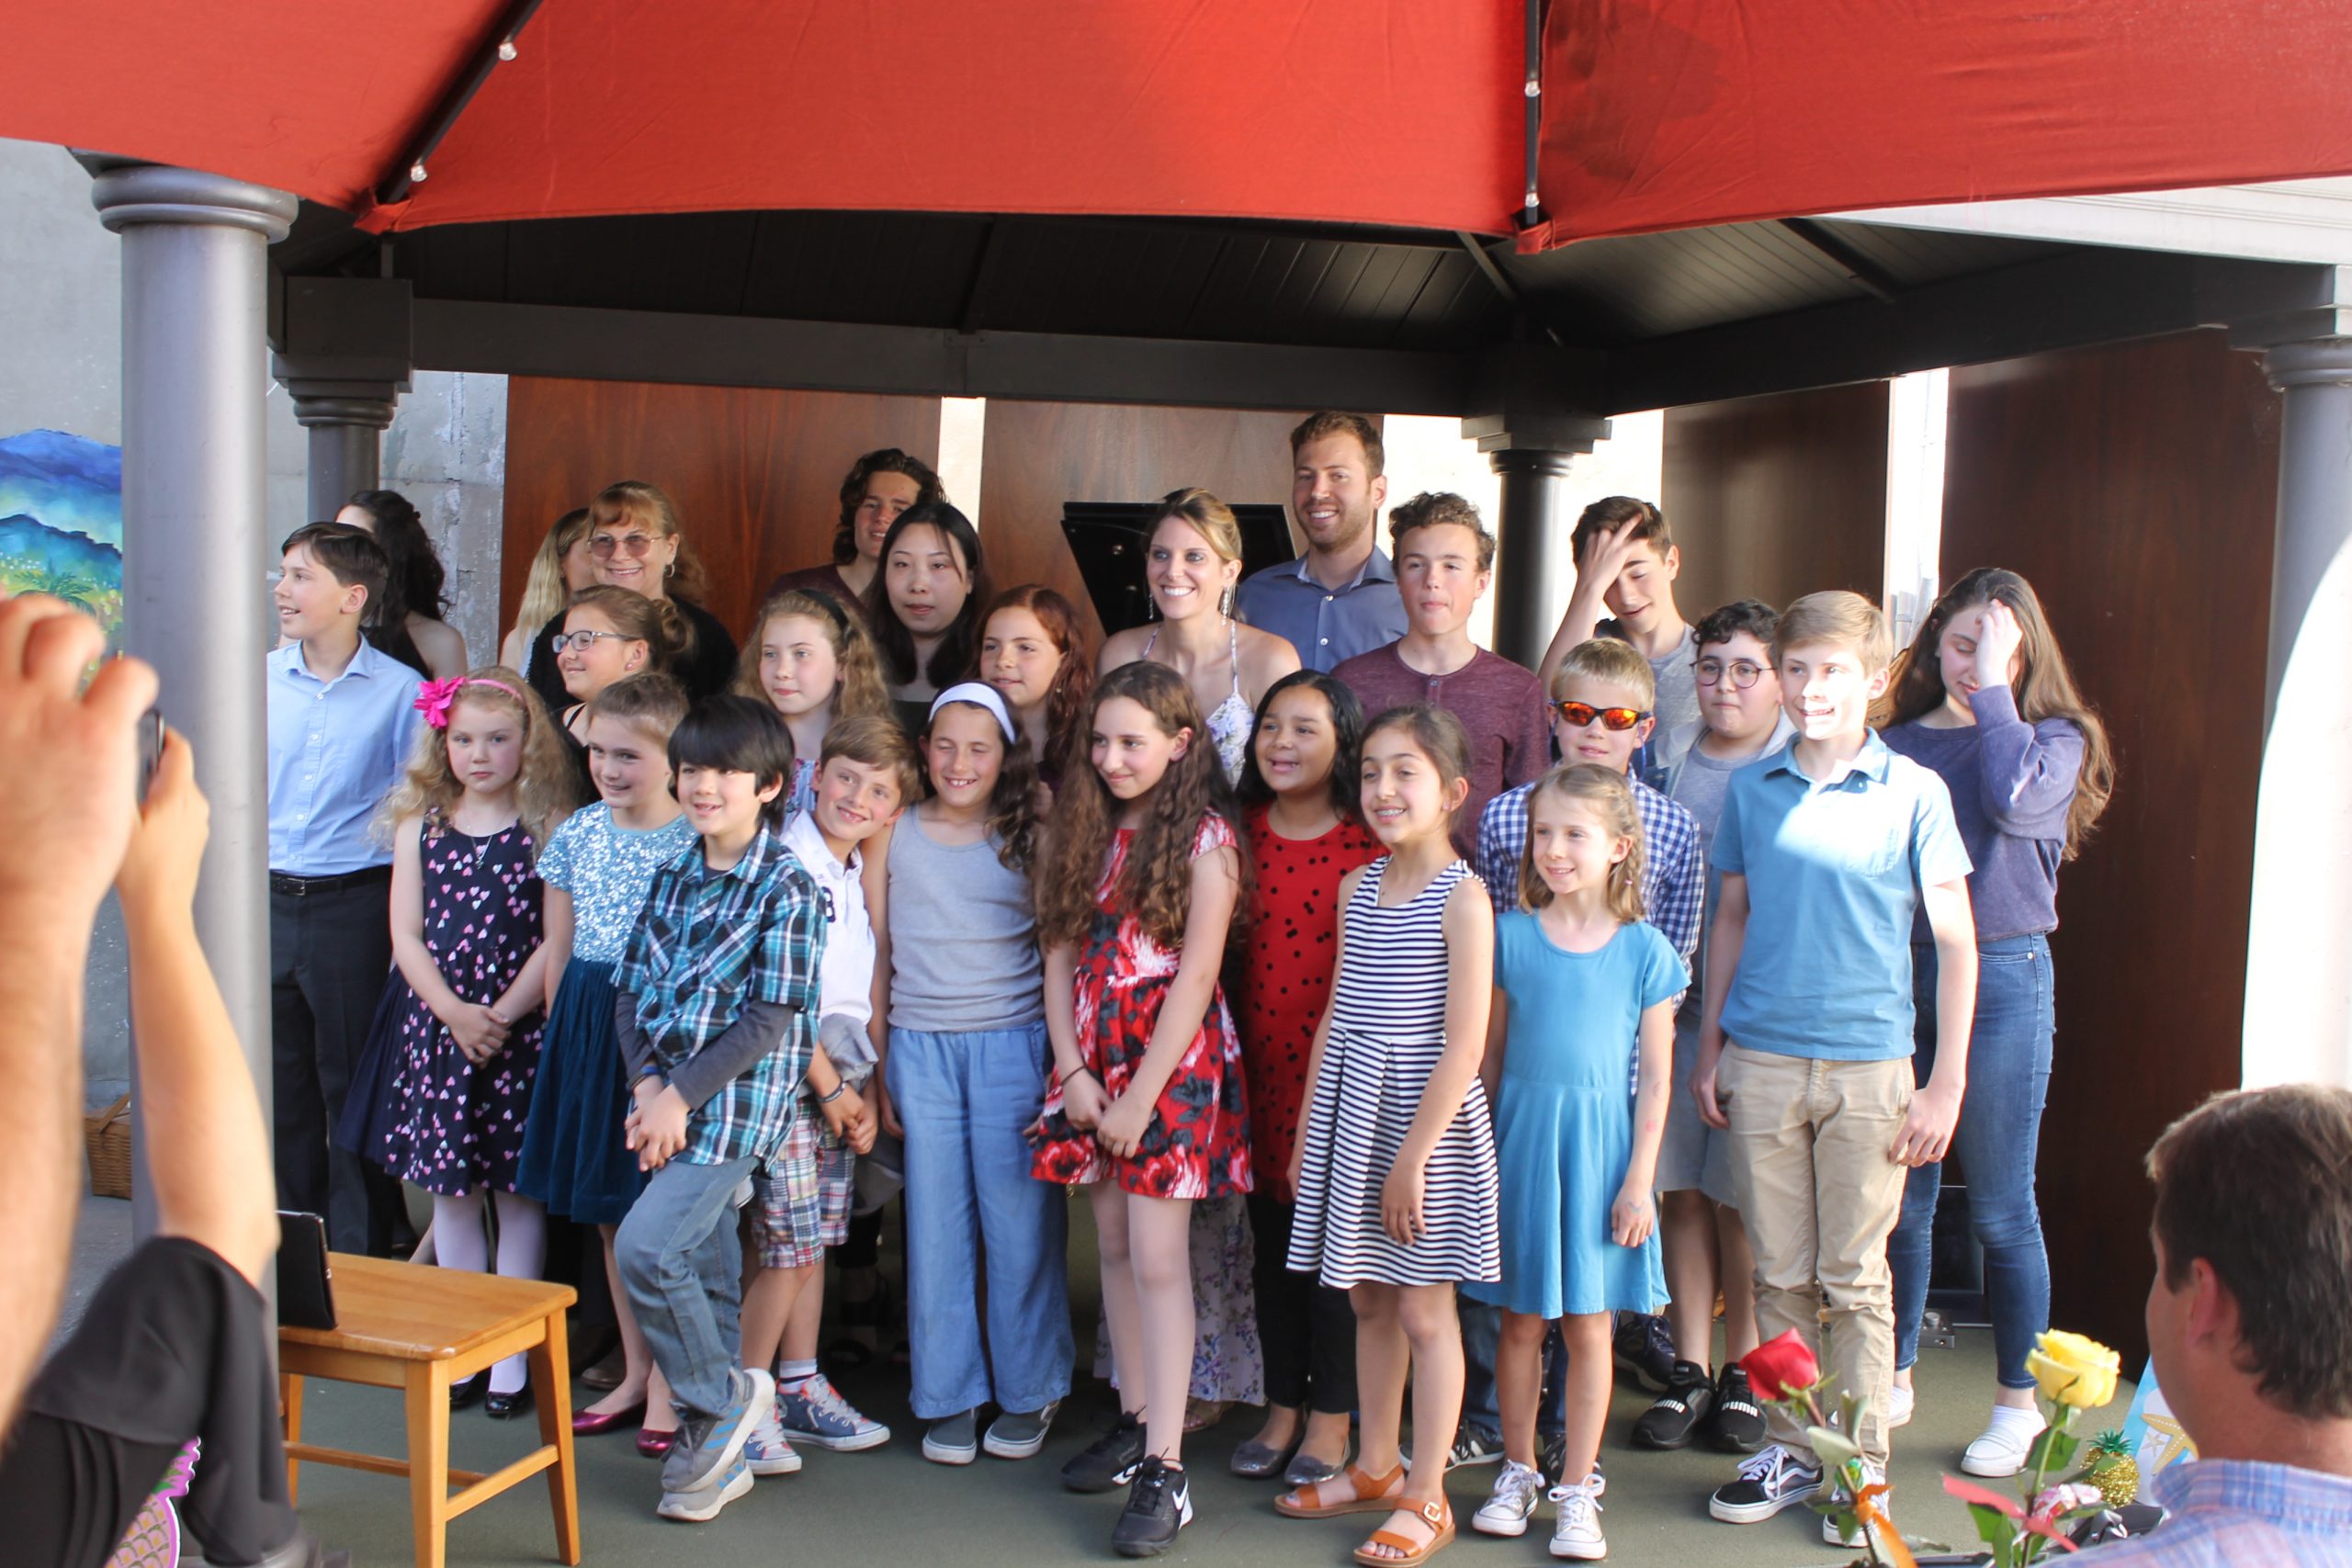
We have a NO FLASH rule for pictures! I have everyone turn their phone off or put it on silent. Then, everyone performs and I do a little speech after all the performances, and then we take pictures! I have all the teachers come up first, and then have all the students come up. We do a normal photo smiling, and then a goody face picture! Then, it’s time to celebrate!
Step 4: Post Recital: The “After Party”
We always celebrate with food, so I’ll buy some snacks, drinks, and ask everyone to bring a dish of their own – kinda like a potluck dinner! It’s always fun to hang out with everyone afterwards, and it gives the kids something to look forward to after sitting down quietly and patiently for over an hour!
Once everyone eats and visits, my husband (before he passed), brother, and I have a massive clean up! I wouldn’t be able to do it without their support. That next week, I’ll take all the recordings from my camera and edit each performance to have its own video. Then, I post all the performances on my Cascade Method Youtube Page under a new playlist titled whatever the recital name is so families and students can watch it again!
And that’s a wrap! I always want to create that family feel at my recitals. I want everyone to know that I care and that students matter. The booklets may not be necessary but I like to think of my students as an investment. The booklets are a testament to that and show what we do is not a temporary thing.
Your Guide to Hosting an Online Piano Recital
I’ve never hosted an online piano recital but I know it’s going to be GREAT! For my sanity, I’m going to skip creating the booklets this time around. However, I’m still going to ask all my kiddos to tell us “their bio” when they introduce themselves during their presentation.
FIRST TASK:
I will be sending an in-depth outline to all the families and teachers of how the online recital will go. This outline will give instructions on how to download and use Zoom and tell parents what’s expected of their children and their performance. I’m still virtually teaching all my students, so that is when we will go over the routine of their presentation – just like we do for in-person recitals!
Step 1: Deciding recital order
I’ve decided that I would pick names out of a hat to keep things interesting. Otherwise, all the little kids who perform first would just leave! This will make it to where the little ones can hear the big kids and teachers play as well as children their age! It will also hold everyone accountable to hang around and cheer everyone on throughout the entire program!
Step 2: A LIVE Zoom Piano Recital!
All students will be responsible for showing up to the LIVE Zoom call at the same time as they would an in-person recital. They will need a computer or phone to dial in and then, complete their performance at home when I draw their name from the hat! With their parent’s help, they can decorate the surrounding area of their piano or keyboard, as well as dress up as they would for an in-person event!
I’m still going to ask that my students get dressed up for their presentation; however, I saw some teachers were allowing students to dress up in costumes!! This could definitely help keep it interesting and fun!
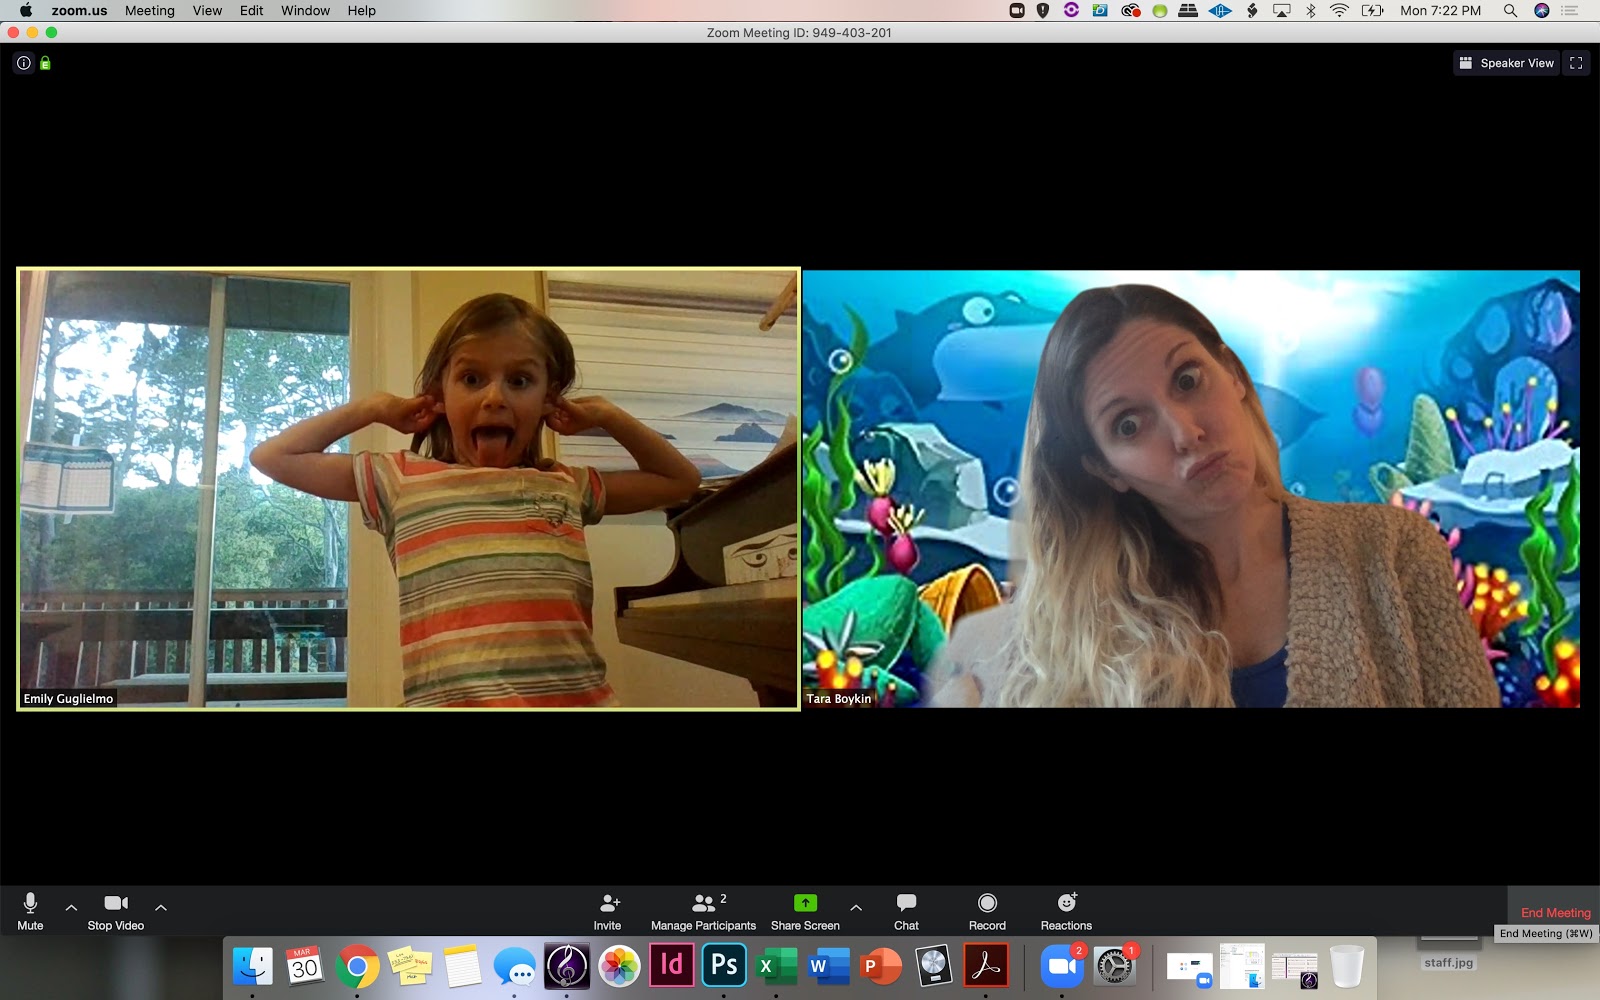
Zoom also allows you to add fun, colorful backdrops so I’ll probably offer a background option to the student’s who didn’t decorate themselves. See an example of this in the photo below!
Step 3: Host the Online Piano Recital via Zoom!
I use Zoom often for my online piano lessons, but since the recital will take longer than 40 minutes, I will have to upgrade my account to “Pro.” Our recitals take anywhere from an hour to two hours and I don’t want to have to rush my students within the 40-minute window so I will be paying a little extra! (The way I look at it is the same as renting out a venue and buying food and decorations!) Again – your students are an investment and they matter!
Step 4: Make sure to record the live recording and make sure everyone mutes themselves when done performing!
The host of the Zoom call will have the option to record the live event. Be sure to remember this part, so you can upload it to Youtube and your social media accounts afterwards!
Also, students should have themselves muted except for when they are performing. We will have times throughout where I tell everyone to unmute and cheer everyone on! Muting will keep the performances of high-quality.
Step 5: Try to make it as natural and normal as possible.
Although a virtual piano recital is extremely different from an in-person recital, I plan to act the same and embrace the messy! I’m going to start the recital off just like I always do by giving an introductory speech and explaining the agenda of the recital.
The only thing I’ll be changing up is the recital order. Pulling from a hat will keep it interesting and hopefully, keep all the families on the video after their performance! We’ll close the event with another quick message from me and then give a large round of applause to everyone who performed!
There may not be roses and booklets… but we will still be celebrating all of our student’s successes and embracing the time we have together!
Why bother participating in an online recital?
You may be thinking, “What’s the point?” I think one of the biggest things we’re all missing during this time of socially distancing is the lack of human connection. A recital provides us with the opportunity to come together and share our talent. Not only does it feel good to showcase your work, but it’s also a great time to be encouraged and give constructive feedback.
We’re all sitting at home anyway- we might as well have fun together and make the most of it! The main reason I personally want to throw this online recital is because this is the only chance our students will have to perform in the school year!
I think our kids will feel safe performing from the comforts of their own home and hopefully, think it’s cool to decorate and get dressed for their video event! It’s all about coming together and showing our passion for the piano.
Share your Piano Recital Plans with Us!
No matter what the circumstances are, we believe that playing the piano can be powerful and fun. We can’t wait to embrace this new-normal and see how the virtual recital goes! We’ll be sure to give you a recap when it’s up on YouTube!
As for all the other piano teachers out there, share with us your recital plans! Are you doing something different from us? Do you have any tips that we left out? What are the personal touches that you incorporate in your programming? How can we make this the best online recital yet?! We’d love to hear your experience with online recitals in the comments below.
Thank you for reading! Cascade Melody is sending love and safety your way during this time!
 Love, Tara
